
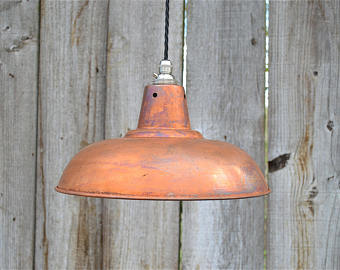
There’s nothing better than a few home decor pieces dressed in aged copper. I wasn’t super on board with the copper decor DIYs until I came across a copper salt and pepper shaker at Target, and I was more than hooked. As soon as I found my new salt shaker, I was determined to dress up my home with an aged copper finish, only real copper finish is SUPER expensive. I was looking for something a little more affordable. Do you love the copper decor, too? Here’s how to fake a copper finish (without spending tons of money!) anywhere in your home.
Pick up the following supplies from Michaels before getting started:
-Sandpaper (I like to use at LEAST 120 grit)
-Rustoleum Spray Paint in Hammered Copper
-Rustoleum Spray Paint in Brown (optional, for copper aging)
-Rustoleum Spray Paint in Seaside (optional, for copper aging)
-A surface for your “backdrop” (old sheets and cardboard work well!)
-Spray Sealer (Matte finish looks best for these kinds of projects)

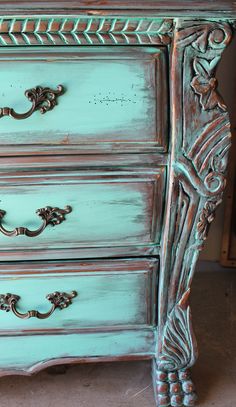
To begin, sand the item to be painted. Never think that it’s okay to skip the sand…it’s important that you give the paint something to adhere to. Sanding down your piece prior to painting will give the paint something to “stick” onto.
After sanding, place your freshly sanded piece onto a sheet of cardboard or an old bed sheet. Since you are working with spray paint, it’s best to tackle this project outside! Cover your piece with Rustoleum paint in copper. Take care that the paint doesn’t drip or run. You will likely need several coats of paint to achieve the color you desire. Make sure that you allow the paint time to fully dry before moving onto the next coat.
If you decide not to give your copper the “aged” look, you can seal up your project with the spray sealant as soon as your last coat of copper paint has dried. If you want to age your project…keep reading!
Spray a hearty glob (or, puddle) of brown spray paint on your canvas or cardboard. You should spray enough so you can “dab” at the paint with a paintbrush, and have it transfer. Grabbing a tiny bit of paint, dab the brown paint on your copper. A little goes a long way! You can always add more, but it’s best not to over do it.
As soon as your piece looks distressed enough with brown paint, wash out your brush, and let the piece dry.
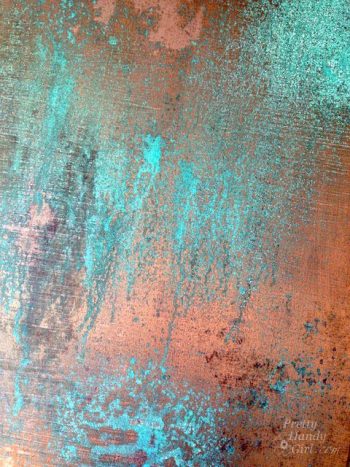
Once dry, create another puddle with the Seaside spray paint. Dab your brush in the blue, and dab the blue on your copper piece. Again, a little goes a long way! It’s better to have to add more blue, rather than not enough. Don’t cover the copper color completely, it won’t be aged copper if you don’t let a little copper shine show through.
Once dry, cover the whole thing with a spray paint sealant. This will keep your project looking a1 for years to come!
Thanks, love your blog!!!
Gorgeous