• Skip to primary navigation
  • Skip to main content
  • Skip to primary sidebar
My List of Lists

My List of Lists

Crafts. DIY Projects. Gardening. My List of Lists is a lifestyle blog providing free tips for baking, crafts, DIY projects, holidays, parties, home decor and more.

  • Home & Garden
  • Tips & Tricks
  • How to Start a Blog
  • Food & Beverage
  • Deals
  • Privacy Policy
  • Printables

Screenshot a PC: How To Do It Now

July 10, 2020 by Amber Leave a Comment

Screenshot a PC: How To Do It Now

After you’ve screenshotted your image, you’ll probably be wondering how to find your saved image (or, at least I was!). Try these easy steps:

1. Head to your picture folder–the screenshotted image will be here, or in a sub-folder within your picture folder.

2. If you want to edit or crop the image, open the image, and hit ‘copy.’ This action will copy the entire image to your clipboard.

3. Once copied, use your search bar (lower left corner) to find and open ‘Paint’ or ‘Paint 3-D.’ Paste the image. Make any desired changes and hit ‘Save As.’

Now, you’ve got a perfectly screenshotted image with your desired edits! Wasn’t it easy?

*Alternatively, I’ll use the search bar to find the ‘Snipping Tool’ and essentially “drag and cut” a screenshot of the entire window. You can hit ‘Save As’ and put the screenshot in your desired folder.
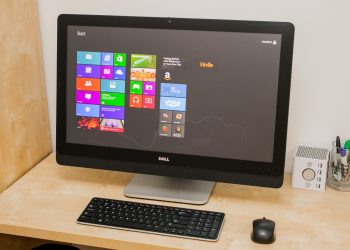
screeenshot a PC
Share
Pin41
Tweet
41 Shares
Pages: Page 1 Page 2 Page 3 Page 4

Filed Under: DIY, Tips & Tricks Tagged With: how to, how to screenshot a PC, PC tips and Tricks, screenshot a PC

Reader Interactions

Leave a Reply Cancel reply

Your email address will not be published. Required fields are marked *

Primary Sidebar

Find What You’re Looking For

Sign Up

RSS Latest Posts

  • DIY Backyard Hacks
  • 18 Cheap Ways to Turn Your Bathroom into a Spa
  • 10 Fun Things to Do with Burlap
  • 13 St. Patrick’s Day Crafts
  • Perfect Valentine’s Day Gifts for Her
Modsy.com

Copyright © 2021 · Genesis Sample on Genesis Framework · WordPress · Log in