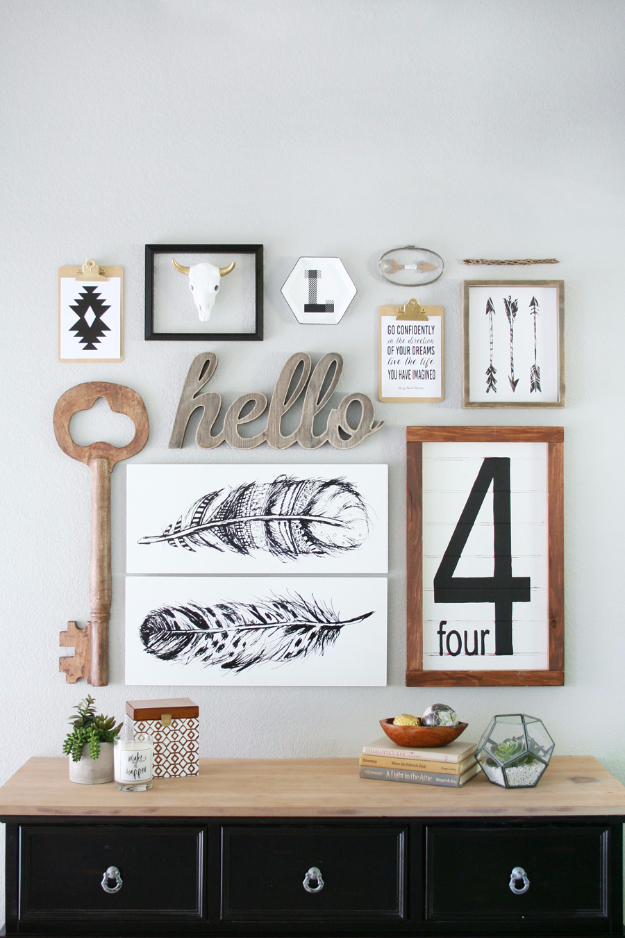
Ever looked at a piece of furniture in your house and thought: “when did I get that ugly thing?” I think we all have been there at some time! Isn’t it amazing what a few years of natural wear and tear can do to a once-beautiful piece of furniture? Erase the memory of that hated piece by giving it a new paint coat, and a new life. Here’s how I prep my old furniture for a major makeover.
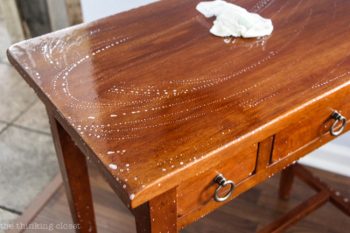
I always like to start my cleaning projects by throughly cleaning my furniture. I have a firm belief that this is the only way to know what you are truly working with! Wipe down your furniture with hot soap and water. It won’t matter if this warps the paint–you’re going to be sanding soon anyway.

First things first, never skip sanding! Seriously. There are some instances where this can be forgiven, but I always like to sand it to be safe. Simply running sand paper over a piece of furniture can be the thing that keeps it looking gorgeous for years to come. Tip: Always wipe down your furniture with a tack cloth to get rid of any yucky dust or dirt.

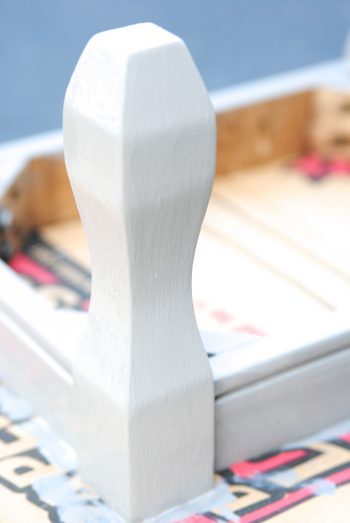
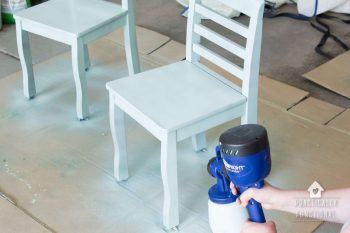
Next, it’s time to prime your furniture. This may not be necessary, depending on the desired outcome of the project…but…if you’re painting a dark wood piece white, it’s best to coat it with primer after sanding. You should apply 2 coats of primer just to be safe. I like to use a roller when priming my own furniture projects. Let the piece fully dry before decorating with it!
Find other DIY tips here:
10 $1 DIYs for Designer Decor
10 Hula Hoop DIY Projects for the Home
10 Simple Kitchen Canister DIY Projects


Leave a Reply