While you can purchase crackle glazes for prices ranging from $10 to over $25, there is a more affordable alternative. You can make crackle paint with a bottle of glue. You can make this with both chalk paint and latex paint. That said, the former provides better results. Moreover, you should try to avoid acrylic paints because they don’t crackle well. With that said, this article goes over how you can use glue to create crackle paint.
How to Make Crackle Paint with Glue
The great thing about this method is that you can make the product with household items. So, you can save money and time and still have excellent results. Here’s how to make crackle paint with glue.
Gather the Necessary Supplies First
Before you begin, you should gather all the supplies you need. This way, you won’t have to take breaks when working once your start. The necessary supplies you’ll need for this process include:
- Glue (you can use wood glue because that’s typically easy to work with)
- Chalk paint or latex paint (make sure you have black or dark grey and any other color of your choice)
- Hairdryer
- Paintbrush
- Scrap wood (for practicing the first time)
Paint Scrap Wood to Test the Results
This guide will focus on creating crackle paint on scrap wood, but the same steps apply when painting furniture. Paint a piece of scrap wood black or dark grey with chalk paint (or latex paint). Make sure to paint the entire piece of scrap wood. However, you don’t have to coat it well or evenly. This is the coat that will show underneath when you form the crackles. Also, you don’t need to use high-quality paint for this because it’s not the top-most layer of paint.
Apply the Glue for the Crackle Paint
Let the base coat of black or grey paint dry completely. After that, squirt a bit of glue onto the scrap wood. When working on large pieces of wood, make sure not to squirt glue on all of it at once. The glue starts to dry quickly. So, you’ll end up ruining some of the crackle paint. Instead, work in manageable sections.
Smear the Glue with the Paintbrush

Use your paintbrush to smear the glue all over the scrap wood. Also, make sure that there’s a thick layer of glue to properly create crackle paint. So, more glue will create larger crackling layers. On the other hand, you can use a thinner layer of glue for smaller crackles. Moreover, you can vary the thickness levels on the wood. This way, you can achieve more realistic-looking crackling.
Use the Hairdryer to Harden the Top-Most Layer of Glue
Timing is essential if you want to achieve crackle paint that looks fantastic. What you must do is use your hairdryer to harden just the top-most layer of glue. This way, you can apply the paint onto the layer of glue. You need to prevent the glue from mixing with the paint, but you can’t let the glue dry completely. Therefore, using a hairdryer is the perfect solution. So, use the hairdryer for just one minute.
Apply the Final Coat of Paint
Pour some chalk paint of your choice onto the wood. Next, use your paintbrush to drag the paint across the wood. Moreover, make sure that you’re gentle with your paintbrush. Applying too much pressure can break the layer of glue.
When you’re painting, you’ll see a lot of brush stroke marks. Don’t worry about that, because it will be unnoticeable when the paint dries. Also, chalk paint hides these blemishes better than other types of paints.
Let the Paint Dry
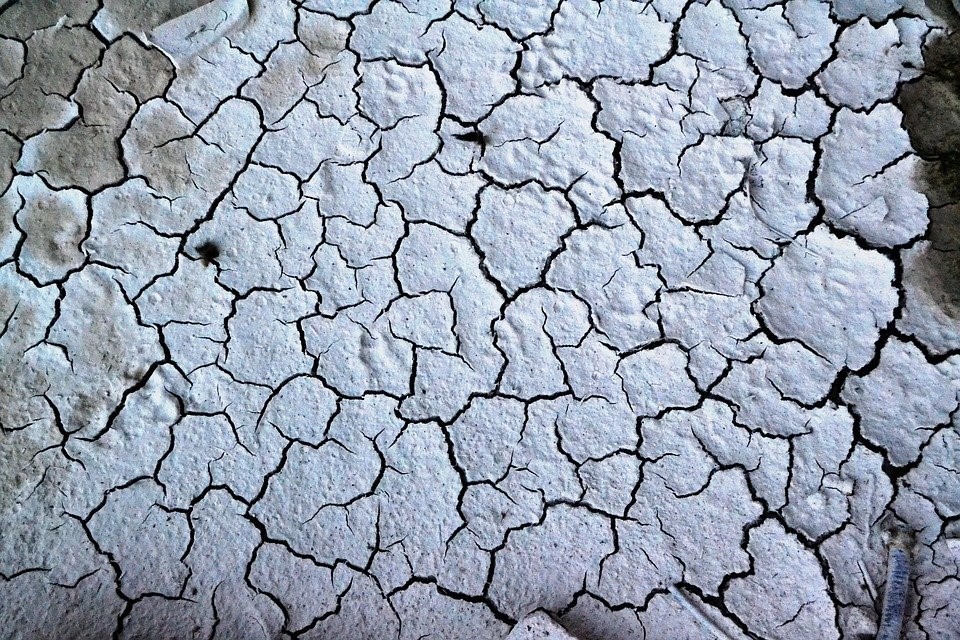
You can use your hairdryer on a low setting to speed up the paint drying process. However, you can leave it as it is. When the glue under the paint starts to dry, the paint will shrink and eventually crackle. You don’t have to do anything further to create gorgeous crackle paint.
You’ll notice that the crackle won’t be even throughout the wood scrap. This is especially so if you kept the glue layers’ thickness level different. In addition to that, you may also see some parts that did not crackle at all. This tends to happen when you don’t paint the glue fast enough.
Thus, you should always practice with wood scrap when making crackle paint. This way, you’ll understand how to get the desired thickness of the glue. In addition to that, you should tackle painting crackles in sections. This process requires speed, so don’t apply too much glue because you’ll end up with large portions of wood with no crackling.
Last Few Words
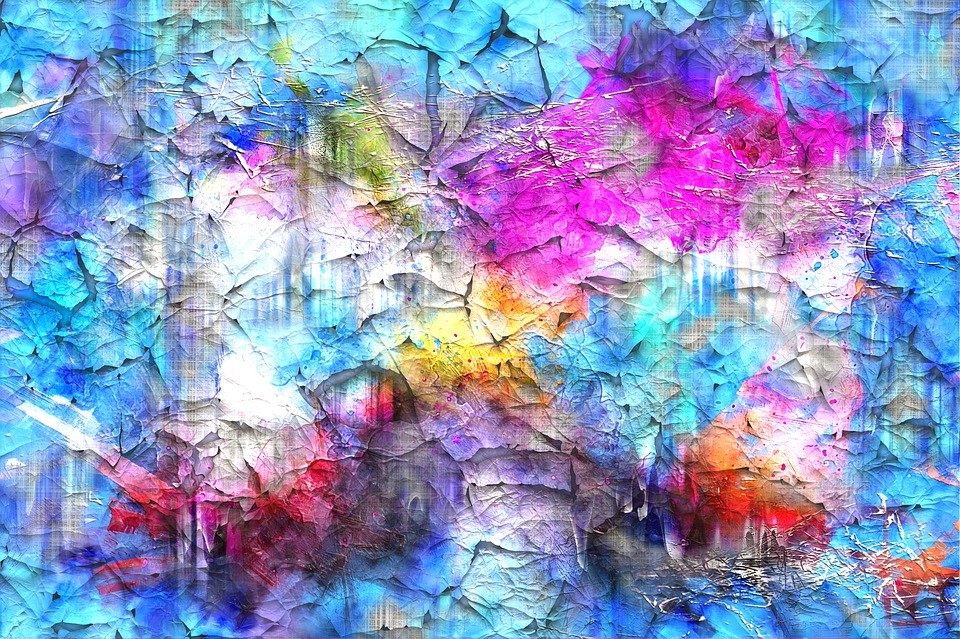
While this method of creating crackle paint is surely more affordable than purchasing crackle glazes, it does require precise timing and a bit of practice. If you’re looking to make a colorful pattern of crackling paint, make sure that you apply the glue for just one paint color. The glue may dry if you take too long switching paints. However, if the piece of furniture is not large or if you have your paints ready, you can do all of it at once.
Leave a Reply