If you’ve never used the print then cut function on your Cricut design space, you are clearly missing out on a lot! The Cricut print then cut feature is an excellent and quick way to create multiple stickers and tags.
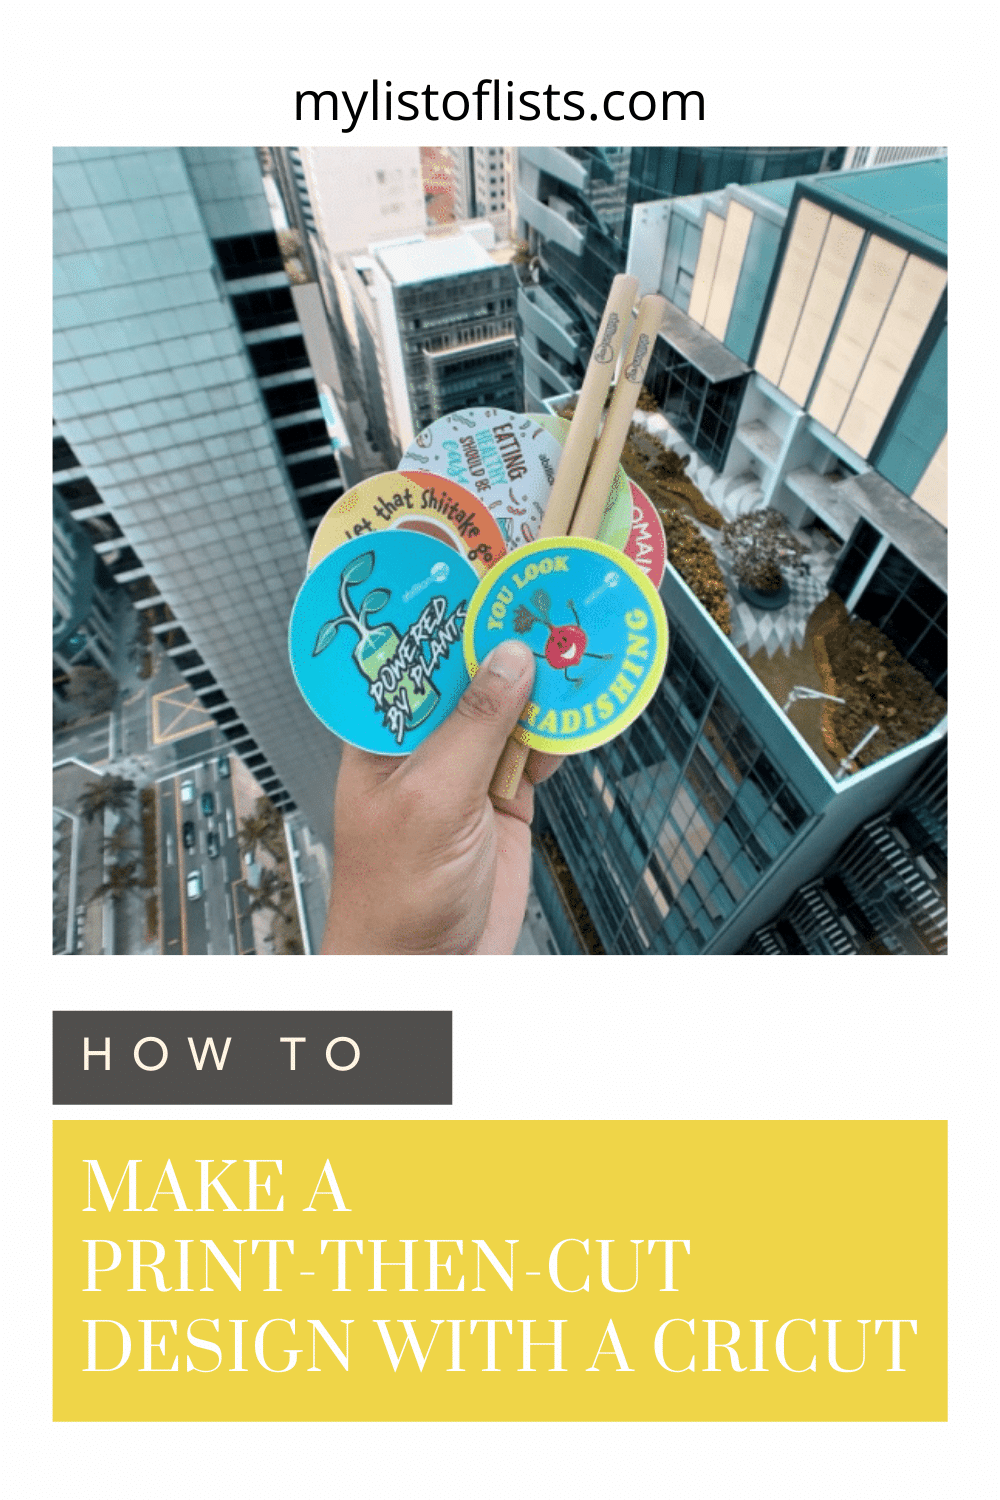
Print then cut is a term that refers to images that are first printed on a printer. Then, you place the printed page on a cutting mat which is loaded into the Cricut machine. The Cricut cuts out the images after scanning the registration box.
In other words, Cricut print then cut allows you to print your designs by cutting around them. To do that, you first need to set your chosen design to “Print then cut.” After this, the design space will send it to your home printer, thereby allowing you to cut it.
The design space begins by putting a black box around the chosen image. The black mark is the registration mark which the machine scans. It’s basically an indication for the machine to know where it should cut.
The Cricut machine will then proceed to cutting inside this box. The machine will then automatically discard the design part with the box printed on your printable material.
Print Then Cut Specifications
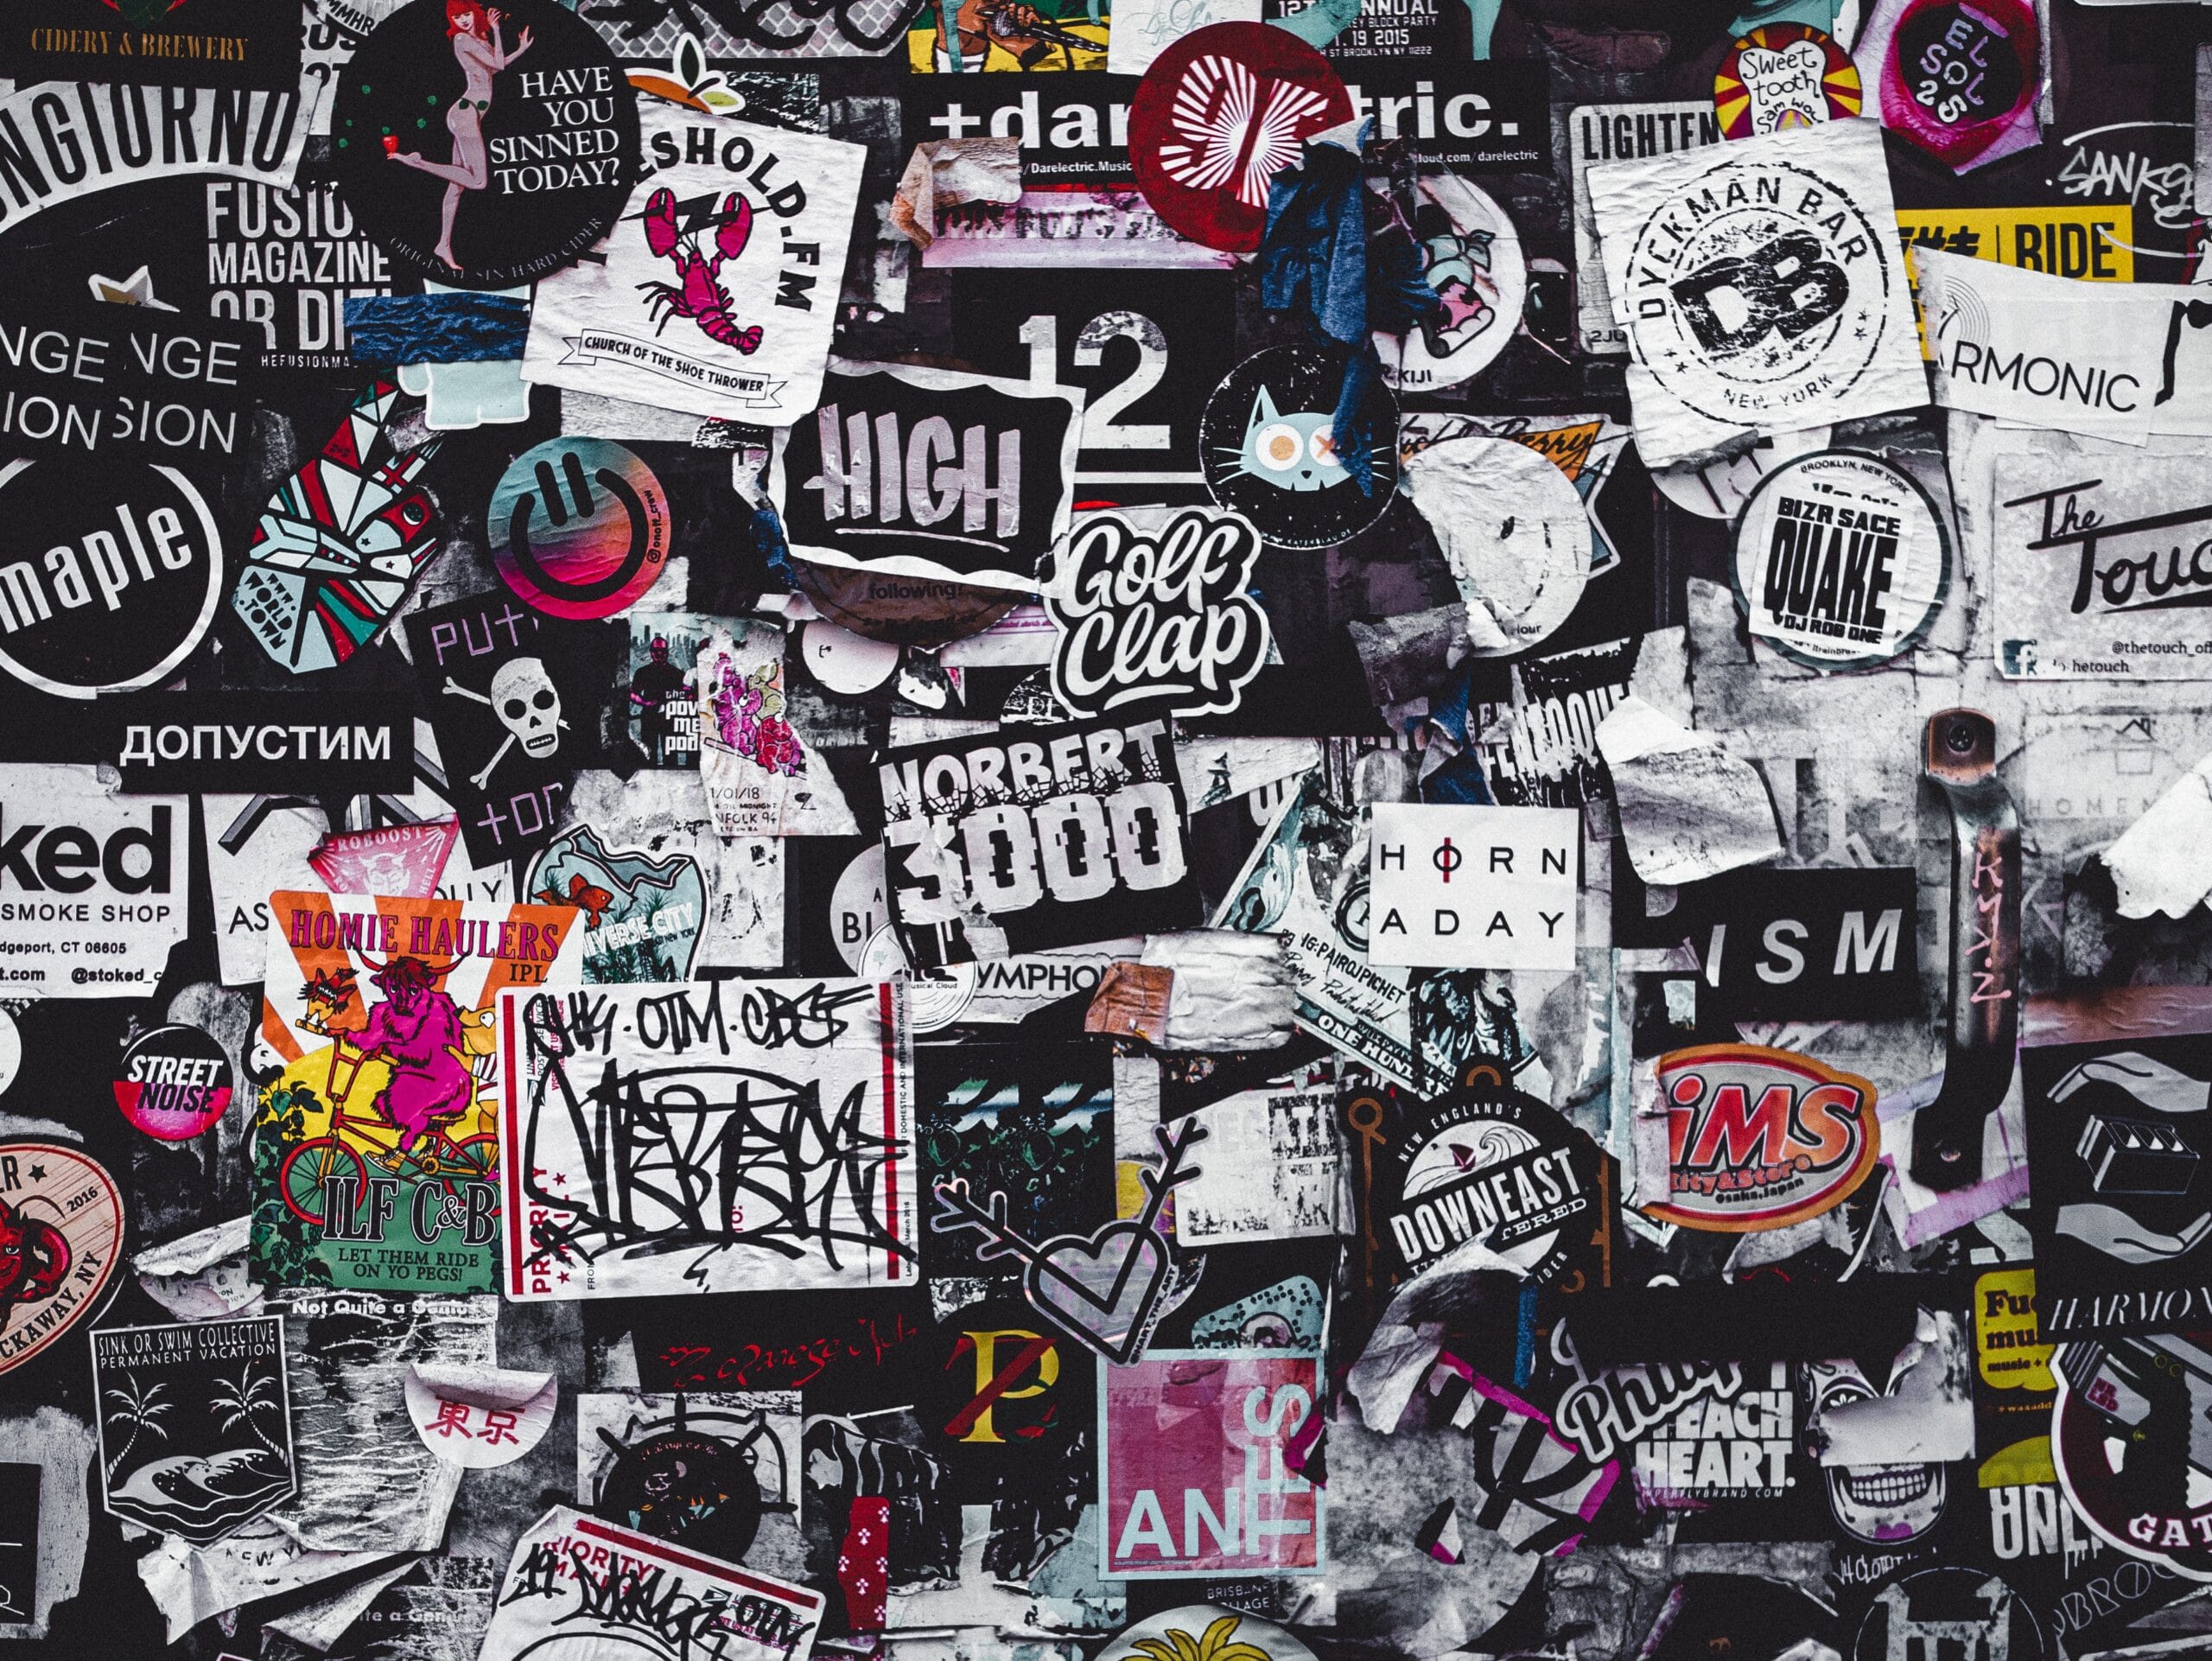
Use Your Cricut To Make Print-and-Cut Designs
Before you use the Cricut print then cut feature, you need to keep a few important things in mind.
Overall Size of Design
First things first, consider the size of your design. It has a limit on the maximum size that you can print with the Cricut design space. The size of your design can’t be bigger than 9.25. x 6.75 inches. Furthermore, the size of the paper that you print your design on must be 8.5 x 11 inches. Note here that you can’t change these fixed settings.
Specifications of the Machine
There are three different types of Cricut machines, so first find out which type you have before you use the Cricut print then cut feature.
Each machine offers different features that include:
Cricut Explore Family Machines
This does have the print then cut feature, but it comes with a few restrictions.
The Cricut Explore machines offer the feature only on white paper that has a matte finish. It’s not able to print then cut on reflective material or even on different colors.
Cricut Maker
The Cricut maker features quite a powerful sensor, and you can easily use it to cut on both reflective and colored paper. However, make sure that you don’t use any kind of paper with busy patterns going on. Also, avoid using really dark colors because the sensor of the machine won’t be able to detect it.
Cricut Joy
This is quite a compact cutting machine and is less than half the size of the other two mentioned earlier. Cricut Joy doesn’t support print then cut.
Material You Can Use to Print and Cut
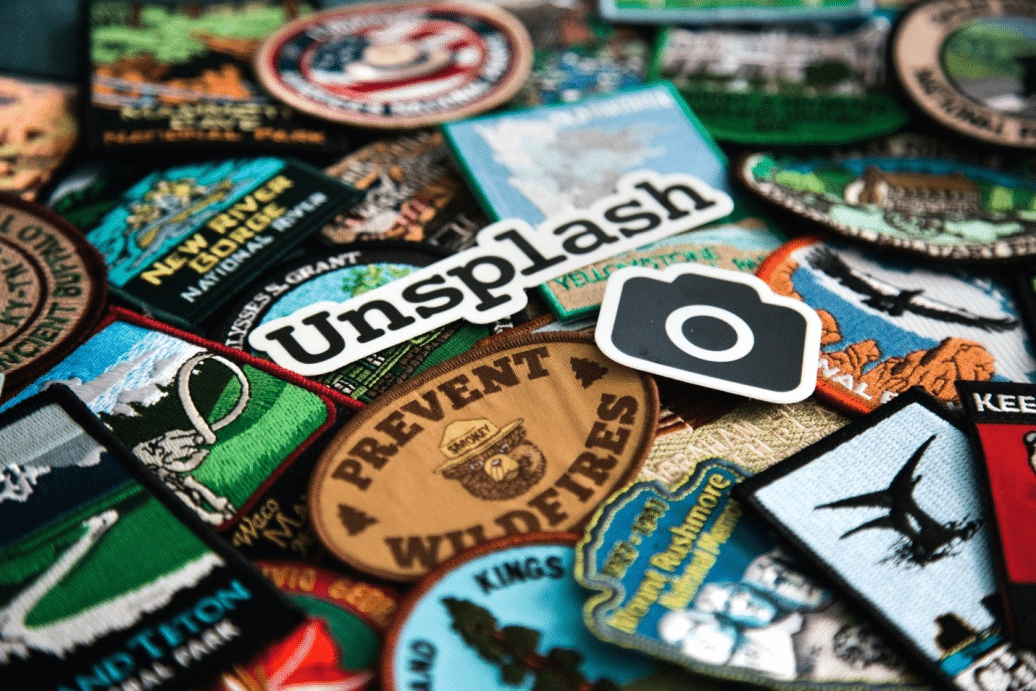
The answer to this question depends on which Cricut machine you are using as well as your home printer. However, there are some materials with which you can always use the print and cut feature, regardless of what machine and printer you have.
These include the following:
- Paper
- Cardstock
- Sticker Paper
- Printable Vinyl
How to Use the Cricut Print Then Cut Feature
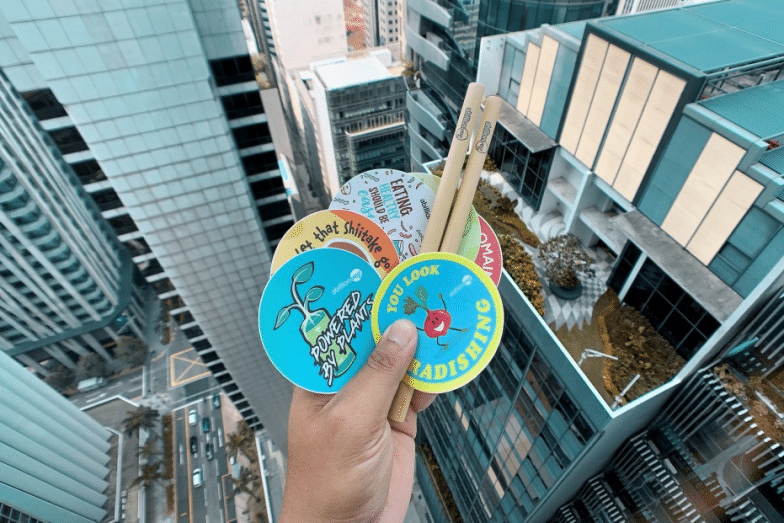
The first thing you need to do is change the chosen image to print and cut from cut or write. This is quite a simple process.
Go on the right menu, where you will notice a FLATTEN button towards the bottom. After selecting your design, click on the FLATTEN button. As soon as you do that, you will see the design transition from cut to PRINT | CUT.
Note here that if you wish to print designs such as invitations, for instance, you need to attach all the design elements first before you choose the flatten button.
If you want to add a pop of color to your design, you can easily do it at this point. The Design Space offers another neat element for you to use with the Print and Cut feature. This is the fill and pattern element through which you can add colors to your design.
Go to the FILL drop-down menu located in the top menu bar and select PRINT to add a fill. You will see a square next to the drop-down menu that you need to click to select your pattern.
This will display a huge variety of patterns that you can choose from. If you wish to adjust the size or the direction of your pattern, you can do so by selecting the button EDIT pattern.
Final Word
From stickers to cards to invitations, the Cricut print then cut feature lets you do a lot of things. One of the best features of Cricut Design Space has to be its ability to upload any image that you like from the internet on which you can apply the print then cut feature.



Leave a Reply