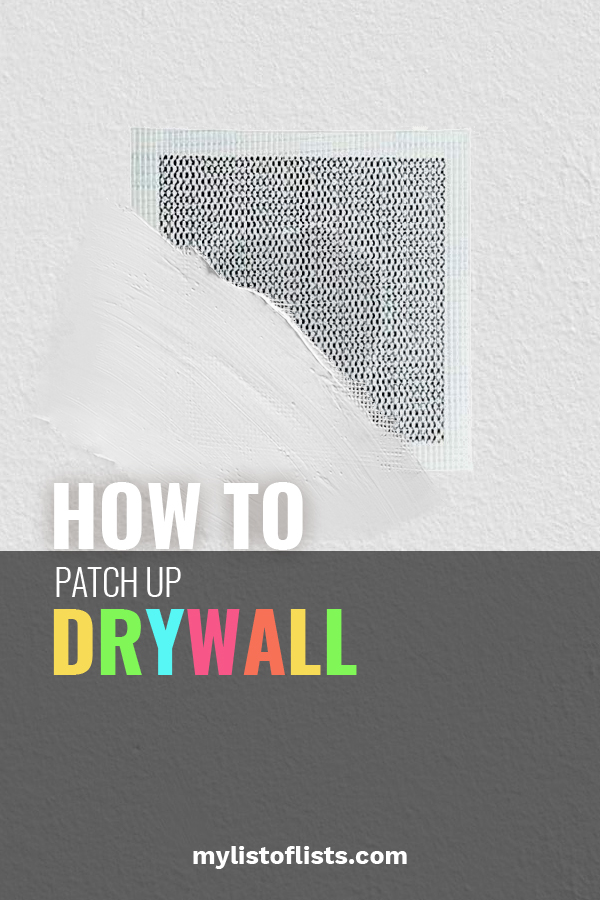
Have you ever needed to patch up drywall? I thought it would be hard to repair drywall damage, but I was so surprised at how painless the entire process was! Repair drywall damage in only a few hours (minus drying time…eek) with my easy guide. Well, small drywall damage, that is. Here’s how I repair drywall!
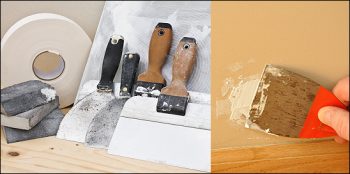
You’ll need a drywall repair kit like this when repairing your drywall!
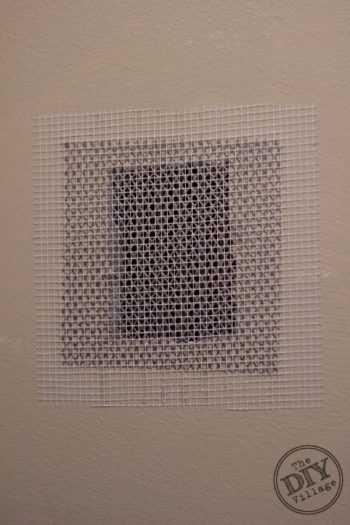
Step 1: Cut out the patch! Your repair kit should come with a drywall repair patch. Cut out the patch slightly BIGGER than the hole in your wall.
Step Two: Next, cut out the affected drywall with a drywall knife. When cut, you should be able to easily “pop” out the pieces of drywall from the wall
Step Three: After the drywall has been removed, you need to attach the “strapping.” The strapping is a 1×3 pieces of wood. Wedge the strapping into the hole and attach it to the backside of the remaining drywall with construction adhesive.
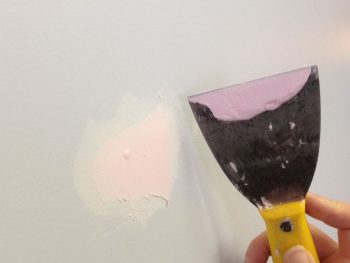
Step Four: Attach the patch (from earlier) with two screws into the wooden strapping. After the patch is attached, cover with a joint compound.
Step Five: Next, cut a piece of window screen and attach it to the patch in the drywall. Cover with more joint compound. The window screen is what helps prevent the drywall from cracking or breaking off again.
Step Six: The next day, when the compound is dry, cover it again with ANOTHER layer of thin joint compound. After this is dry, sand it so the drywall is even with the rest of the wall.
That’s it! You’re done! Drywall repair is easy, isn’t it? Comment below if you have any questions, and I will try my best to answer the ones that I can!


Leave a Reply