If you are looking for an easy to make and totally adorable wooden stocking, try this DIY project below! These oversized wooden stockings are super easy to create yourself and you can hang them up anywhere that you see fit. DIY oversized wooden stockings like these look great in a kid’s room, or you can make one for every member of your family. This is one of my favorite rustic Christmas crafts. Follow the tutorial below to make one for yourself.
Here’s What You’ll Need For Your Own DIY Oversized Wooden Stocking
-24″ x 48″ piece of 1/2″ plywood from your local hardware store
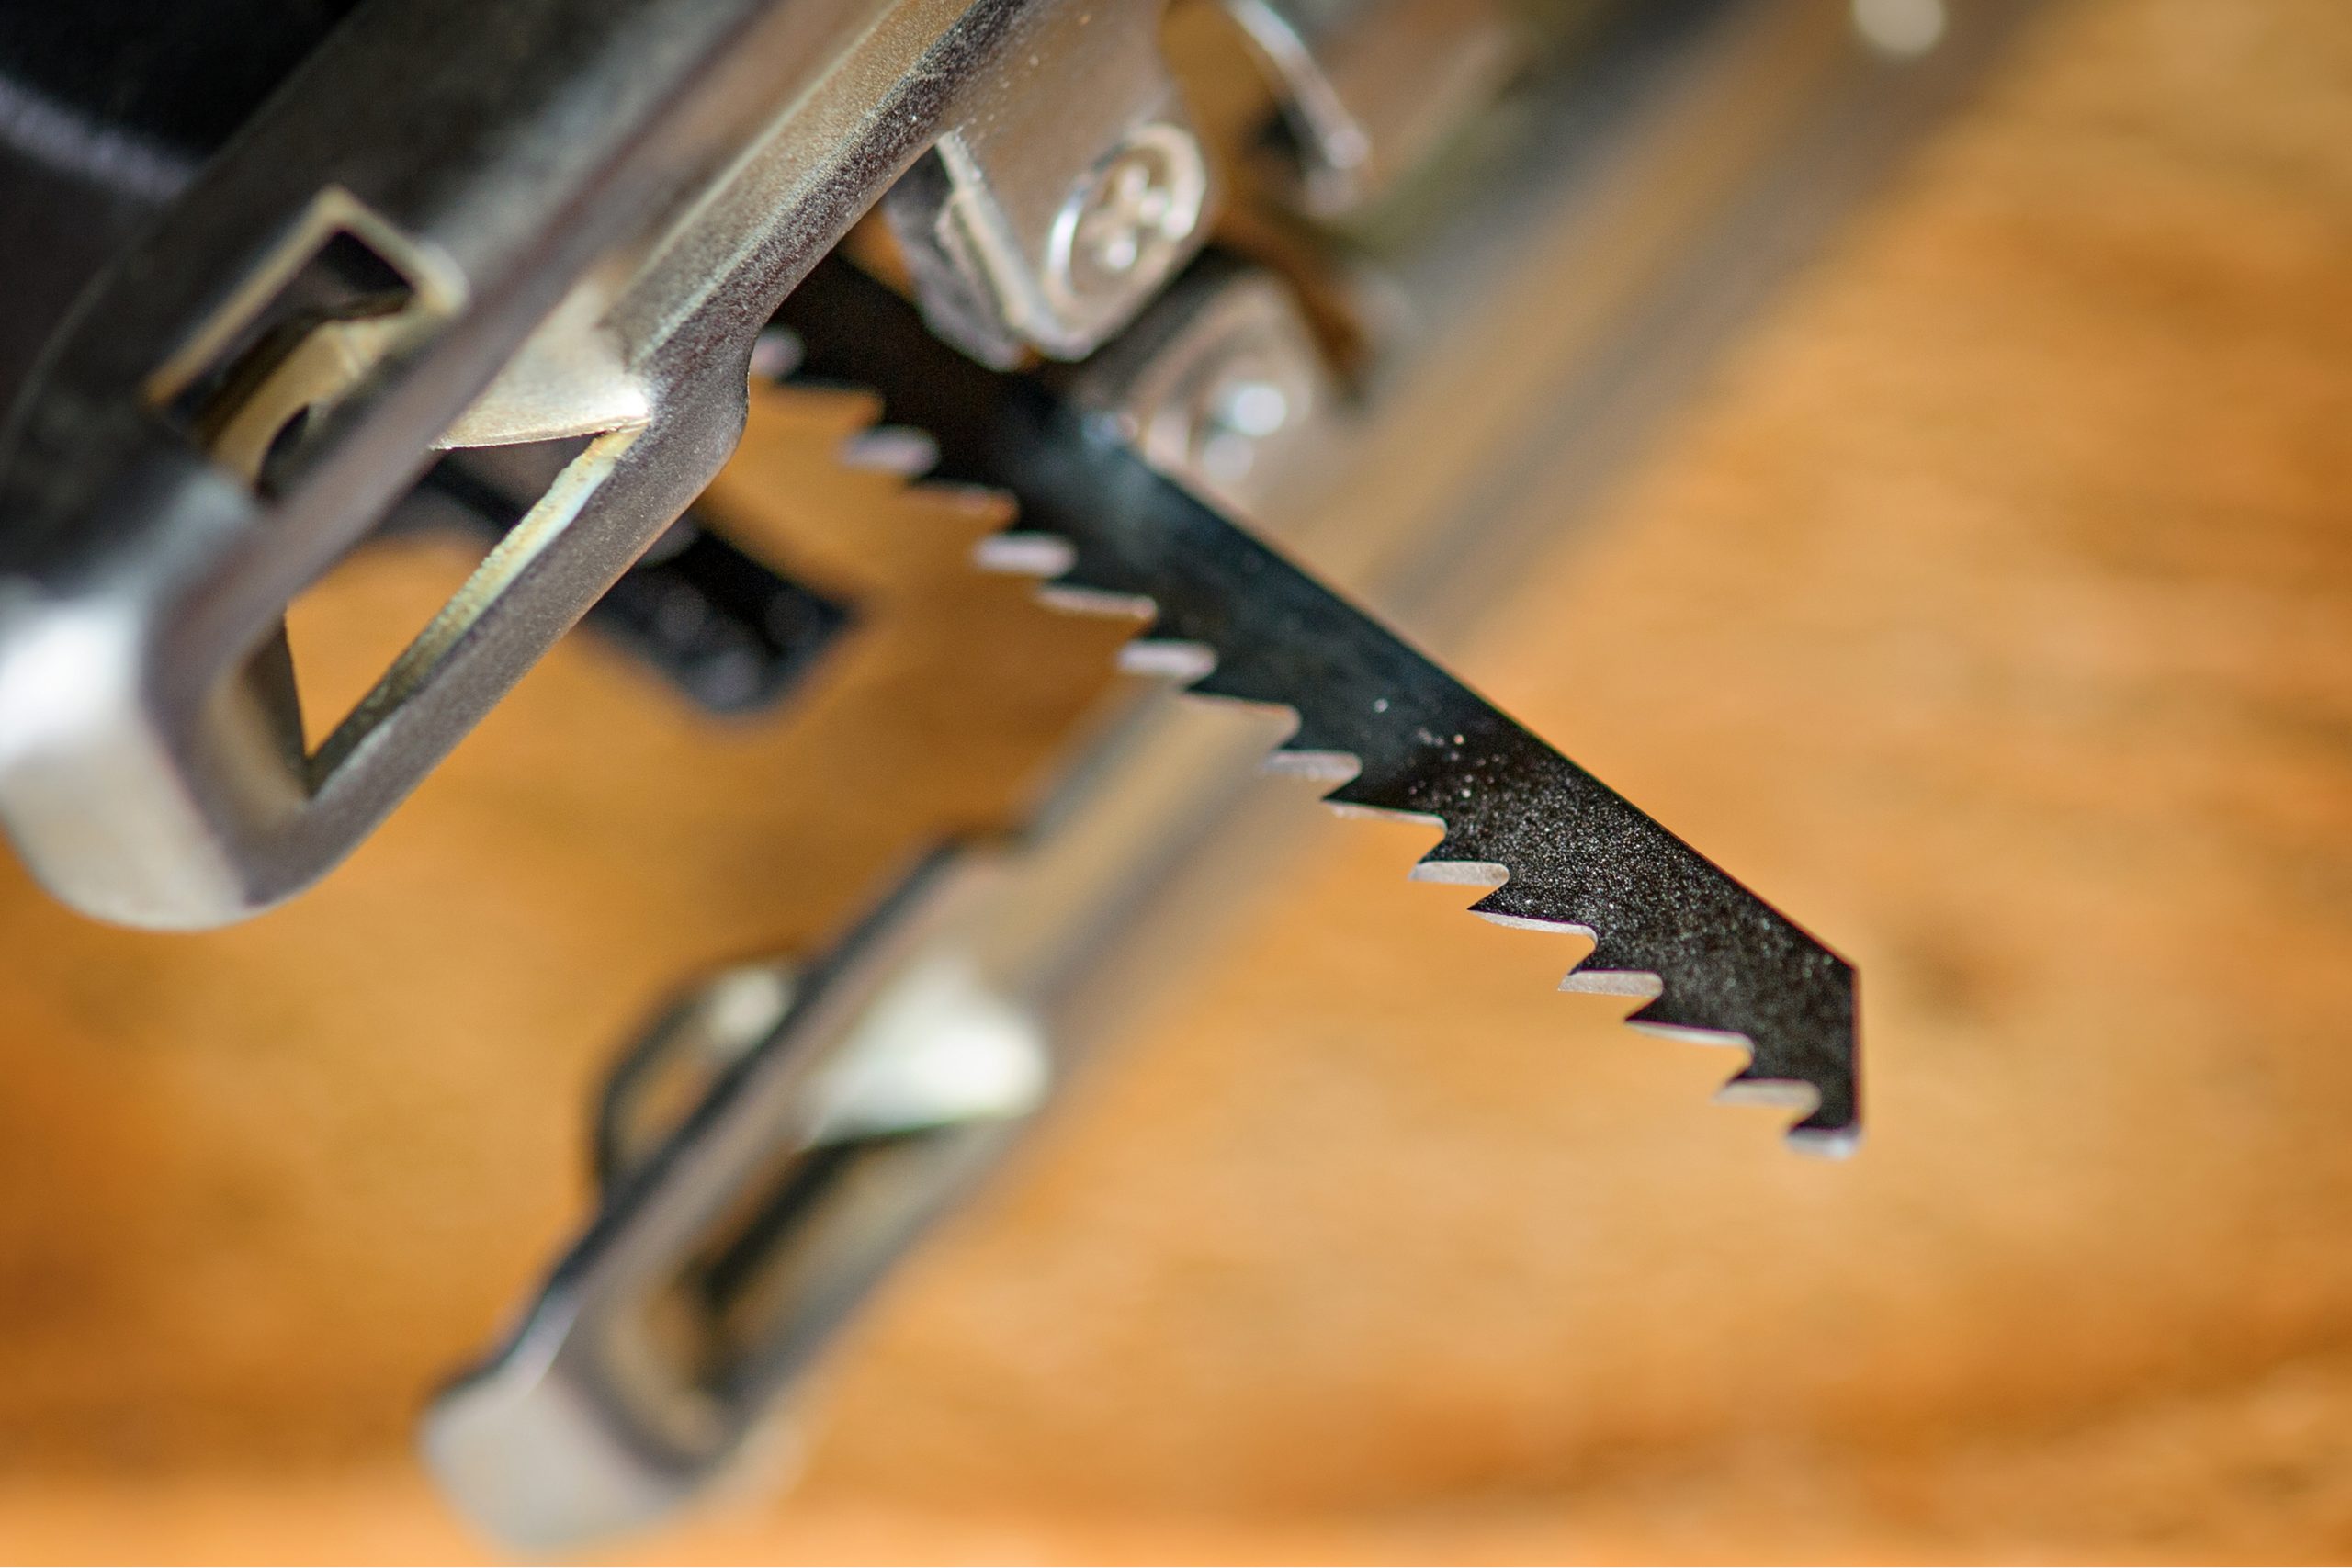
-A jigsaw
-Some paint
–A fabric stocking (use this as the template)
-Sandpaper
Step One
Put your fabric stocking over top of your plywood sheet and use it as a pattern to trace. You won’t want to follow the edge of the fabric stocking exactly, make the one you pencil in a great deal bigger. You’re really just using the fabric stocking to make sure that you get the shape correct. Once done you’ll want to pencil in a “loop” too so that you have something to hang your stocking by.
Step Two
After your stocking is the size you would like, you can go ahead and cut it out using a handy dandy jigsaw. To cut out the center of your loop, I recommend drilling a hole with a spade bit and finishing things up with your jigsaw. Once all of the cutting is done, smooth out the edges with an electric sander or even a piece of sandpaper.

Step Three
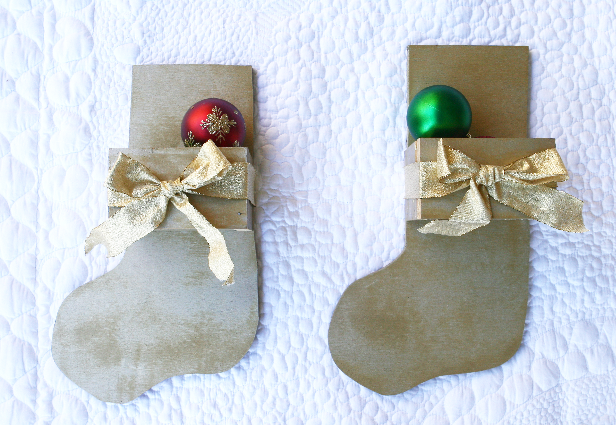
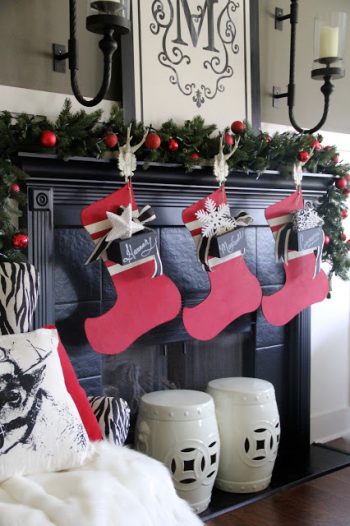
In my opinion, this is the best part about making your own DIY oversized wooden stocking. It’s finally time to paint! I used red paint to get the look I wanted and I even wrote our last name since this will be displayed in my living room. Though I personally haven’t tried it, I am sure that you could achieve the same look with a few coats of spray paint. Now, all you have to do is wait for it to dry and hang it up wherever you see fit!
These oversized wooden stockings are great for families and even kids! I also love the idea of giving these out as neighborhood gifts! The options are truly endless!
Take a look below for a few great ways to personalize your own stockings with these oversized wooden stockings from Ana White.
Leave a Reply