One of the most common DIY projects most people take part in is painting their furniture. Applying a fresh coat of paint on old furniture pieces gives them an all-new look. It’s a cost-effective way of upgrading your living space. The best thing about painting your furniture is that you can change the color of your furniture altogether and totally revamp your living space! Most DIY-ers choose milk or chalk paint to paint their furniture. These paints require a top coat to seal the paint in, and this is where furniture wax comes into the picture.

What is Furniture Wax?
Furniture wax is a top coat for chalk and milk paint. It’s made up of wax (you can tell that much from the name). It could be any wax from beeswax to carnauba wax to paraffin wax. Chalk and milk paint are porous paints. It means that the pores on the furniture are left open when you apply these paints to your furniture. Dirt and dust can settle into these pores and make your paint color look dimmer and furniture dirtier over time.
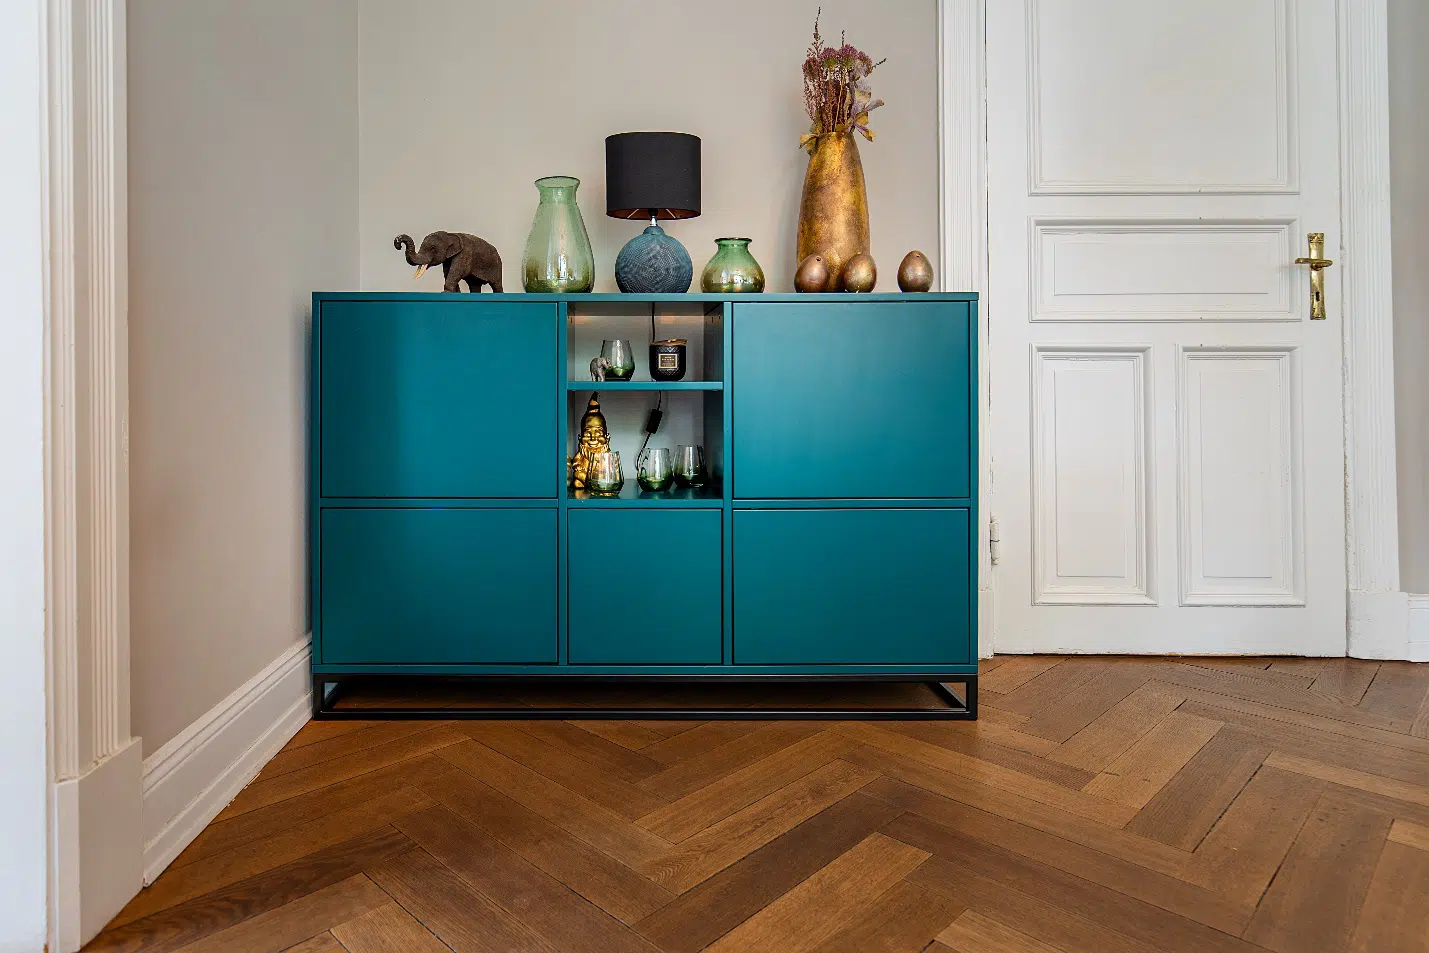
However, a coat of furniture wax over the chalk or milk paint coat fills in the pores and provides your furniture a flawlessly smooth finish. The paint stays good as new for a longer period of time because of the closed pores. This means no dirt build-up. Furniture wax settles into the paint and it somewhat becomes a part of the paint finish.
Furniture Wax vs. Polyurethane Topcoat
Polyurethane topcoat has been the standard for furniture paint topcoat for a very long time. Furniture wax isn’t a new thing either. However, furniture wax gained popularity after chalk and milk paints became mainstream.
You might want to know what more furniture wax has to offer compared to the age-old polyurethane topcoat. Well, the problem with the polyurethane topcoat was that it chipped off in large flakes. It didn’t seem to blend in with the paint and appeared as an additional plastic layer sitting atop the paint. Moreover, it obtained a yellowish tint over time that made the furniture look old.
Furniture wax gained popularity due to all the right reasons. It filled the pores of the furniture and blended in just right with the paint finish. Furniture wax doesn’t chip off in flakes, neither does it become dull or yellow over time. The best thing about furniture is the smooth, waxy, butterfly-like feel that you get.
How to Apply Furniture Wax
The smoothness, quality, and durability of a wax finish depend on the application. The better the application, the better will be the finish. If you don’t apply it correctly, it won’t last long, neither would it give the finish you expected.
Let’s have a look at a step-by-step guide to help you through the process of furniture wax application:
Step 1: Clean the Furniture
Clean your furniture before applying the wax coat. If there are any dust particles, the wax finish won’t be smooth. Damp a washcloth and wipe the surface of the furniture clean. Give it a few minutes to dry. Start wax application only after you’re certain the furniture piece is completely clean. You may also want to consider your work area. It should be clean, too; otherwise, dust particles from the surroundings may stick to the wax coat while it’s wet. This will affect the smoothness of your wax coat.
Step 2: Use a Cloth or Wax Brush to Apply Wax
Use a brush that has got smooth and soft bristles (a wax brush) or a soft cloth that doesn’t have too many fibers poking out at the sides. The fibers can stick to the wax and create a mess for you. You wouldn’t even want us to tell you how poor the final coat will look. Make sure you’re using the right tools to apply furniture wax.
Step 3: Apply New Coats After the First Dries
Try not to apply thick coats. If the layer is too thick, you can expect it to take a very long time to dry and cure. Make sure you’re applying thin and fine coats. Apply the second coat after the first one has dried completely, followed by a third. Give each coat sufficient time to dry before you apply subsequent coats. If you feel like you’ve applied a very thick coat, take a clean, soft cloth and wipe off the excess. You could even sand it down and restart.
Step 4: Allow the Wax Coat to Dry and then Buff
Give the wax coat enough time to dry and cure after you’re done applying all the coats. It’ll take about 30 to 40 minutes for the wax coat to dry completely (provided that you’ve applied a thin coat). Buff the dried wax coat till it becomes shiny. Let the furniture piece be for a day and then buff it one more time the next day for the best results. If you think the surface needs more smoothening, sand it lightly.
Your furniture will look good as new if you follow all the steps in the right way. If it doesn’t look smooth and shiny, you might have gone wrong somewhere.
Is Furniture Wax Worth it?
You may want a clear answer to this question before you apply it to your furniture. We’re sure you wouldn’t want to go through the hassle of re-doing it all if the results aren’t satisfactory.
Furniture wax is definitely worth it for furniture pieces that you don’t intend to use roughly. The furniture will retain the smoothness and incredible shine for years to come. You can preserve your actual paint color for longer too. Moreover, it won’t chip off like the polyurethane topcoat, neither would it turn yellowish with time. Another pro of using wax furniture is that you can simply touch it up with more wax if the coat gets scratched. You won’t have to sand the entire surface down and re-apply wax furniture from the start.
The biggest pro of using furniture wax for DIY-ers is the super-easy handling and application. Applying furniture wax and handling it is so much easier than a polyurethane topcoat. In addition, a wax coat dries quicker too. All in all, you’re in for a lot of benefits when using furniture wax to give your furniture an all-new look!
The Downsides of Furniture Wax
As much as the furniture wax is a great option for refreshing old furniture, it also has some downsides that you may want to know beforehand.
You can’t apply furniture wax on furniture pieces that you use roughly. The wax coat is somewhat soft even after it hardens. Even the slightest scratch can leave a mark on the surface. You should keep in mind that wax-coated furniture will need more frequent touch-ups. Wax coating isn’t as durable as the polyurethane topcoat.
One of the biggest issues with furniture wax is that if the furniture has been polished or wax-coated in the past (which it mostly is), it’ll bleed through the new wax layer. It’ll tint the fresh wax layer, and the finish won’t look as new and neat as you would like it to be. You’ll have to go through an additional step if you want to save yourself the hassle of re-doing the entire process. If you already polished the piece of furniture before, prime it well to seal the old coat. It’ll prevent the old tint from bleeding through the new wax coat.
Tips to Get a Fine Wax Coat
It’s okay to make mistakes, especially if you’re applying furniture wax on your furniture for the first time. However, the tips below will help you get it right the first time.
- Don’t skip the cleaning part to save time. It’s one of the most important steps of wax coating your furniture.
- Always prime the surface of the polished furniture to prevent color bleeding. Although it’s an additional step, it’ll save a lot of your time that you would otherwise waste on re-doing the entire thing.
- Use a wax brush or a lint-free cloth to apply furniture wax.
- Give each coat sufficient time to dry; otherwise, it’ll develop strokes when you set out to apply the second coat.
- Avoid dragging items across a wax-coated surface to keep the coat intact for longer.
Furniture wax is definitely a great option for making your old furniture look fresh and new. Moreover, it’s one of the most budget-friendly home improvement DIY projects that you can try. Just make sure you follow all the steps, and we promise you, you will to love the results!


Leave a Reply