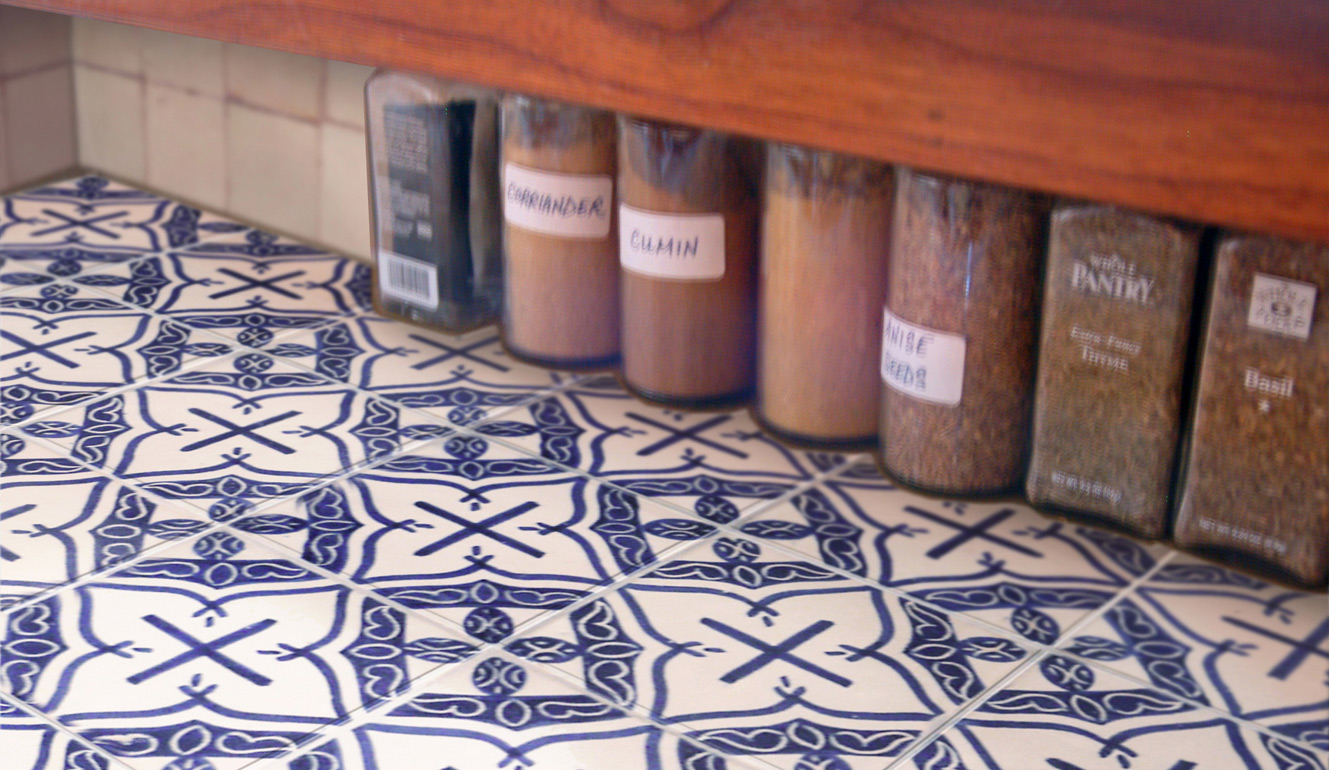
I have an area of worn down, stained, and frankly kind of “unloved” section of tile on my kitchen countertop and I’m dying to replace it! After a quick numbers crunch (wasn’t Christmas just rough?) I knew a demolish project wasn’t in the budget; but a remodel was. I decided it was time to put a coat of paint on my ceramic tile! Keep reading to see how I did it!
Here’s what you’ll need for the project:
-Some kind of 2 in 1 paint. I’ve seen a blogger use a one-step chalk paint. But any paint & primer duo will do. I used this kind.
-paint roller/ paint brush depending on size of project
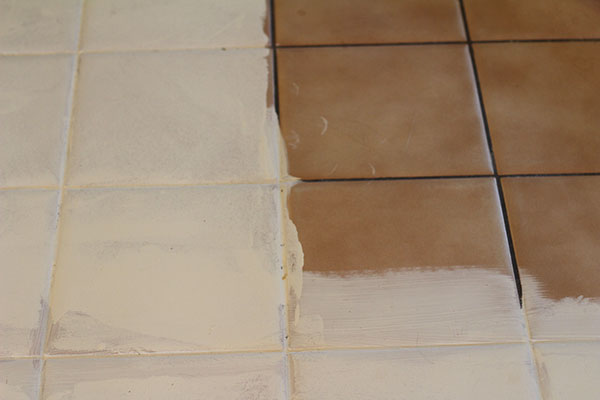
Step One: Roll out your desired coat of 2-in-1 paint out on your tiled floor or backsplash. Work in small sections (the tiled sections make it easy to do this!) and if you’re working in a bigger area make sure to touch up any mistakes as you go. They’ll be hard to pick up on (and fix!) later.
Step Two: Add another coat of paint, if desired after the first has completely dried. Feel free to add as many coats as you want; just allow them plenty of dry time.
Step Three: Once your last coat of paint is all dried up, coat the floor with your acrylic sealer. If you are painting an area of high traffic, it’s important to add a few coats of sealer. I used 4 on my kitchen countertop. This can be the end of your project, or you can add a stenciled image to your tile.
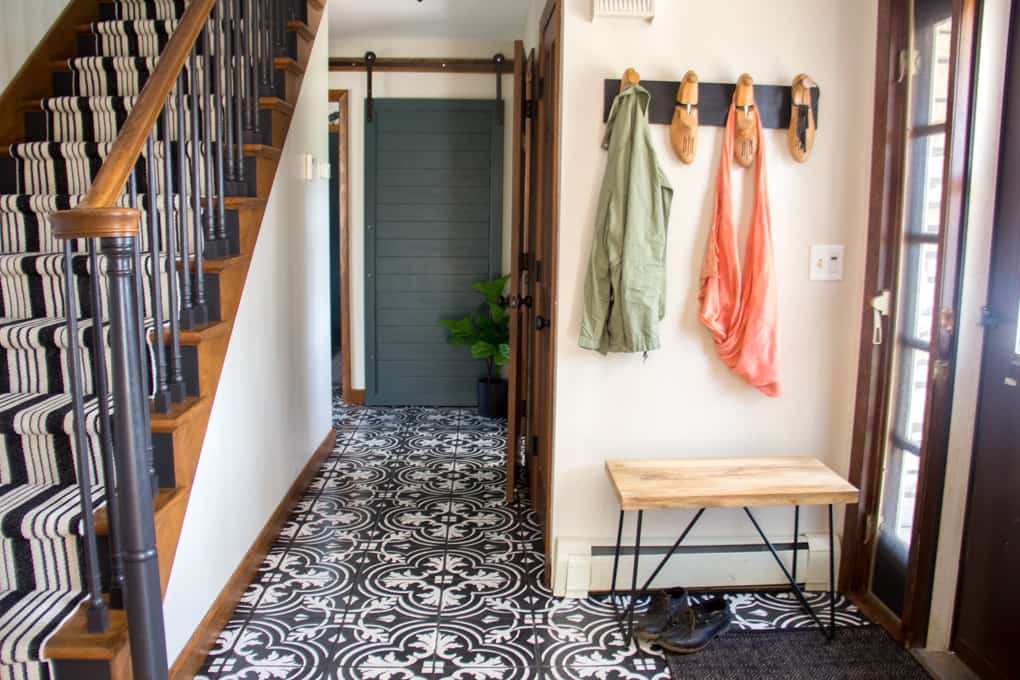
Click the image below for a stunning tiled laundry room floor!

Leave a Reply