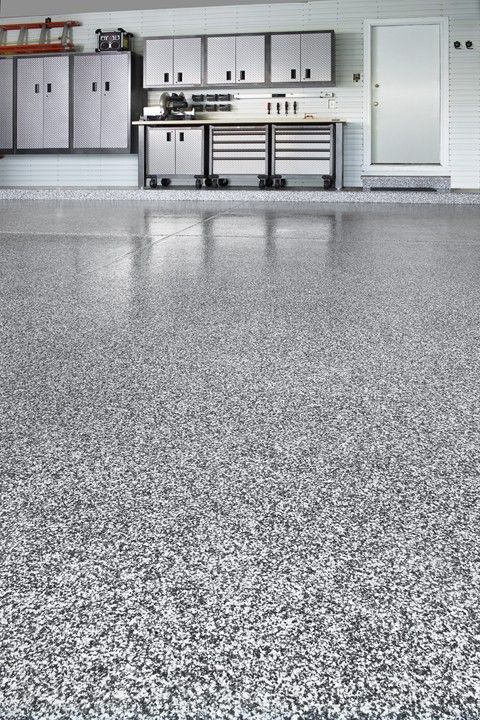
I love how a garage epoxy floor looks in any home! I epoxied my garage floor a few years ago, and it’s been one of the most worth-it home improvement projects that I’ve done so far. The epoxy process can take a bit of time, but if done right, the results can look great for years to come. Here’s what you should know about epoxy-ing your garage floor:
Tip #1: ALWAYS clean your garage floor beforehand. And I really mean clean it…Break out the Shop Vac or the power washer, but make sure you get things clean. This WILL affect how your project turns out.
Tip #2: Always acid wash or etch your garage floor prior to applying the epoxy. The epoxy works better when it has something to adhere to. Most epoxy kits come complete with an acid wash set. Make sure to follow the instructions to a tee!
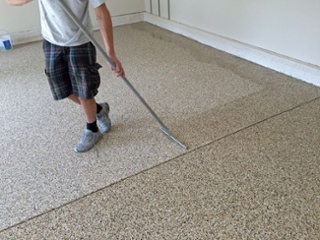
Tip #3: Always do the prep work. It may be tempting to skip the taping (like the guy in the photo below did) but your project will turn out much better if you use painters tape when necessary. Plastic sheeting is helpful for garage epoxy as well!
Tip #4: Do you live in an area where it’s wet often? Make sure that you coat your epoxy floor with a no-slip sealant to keep you safe when walking around in your garage.
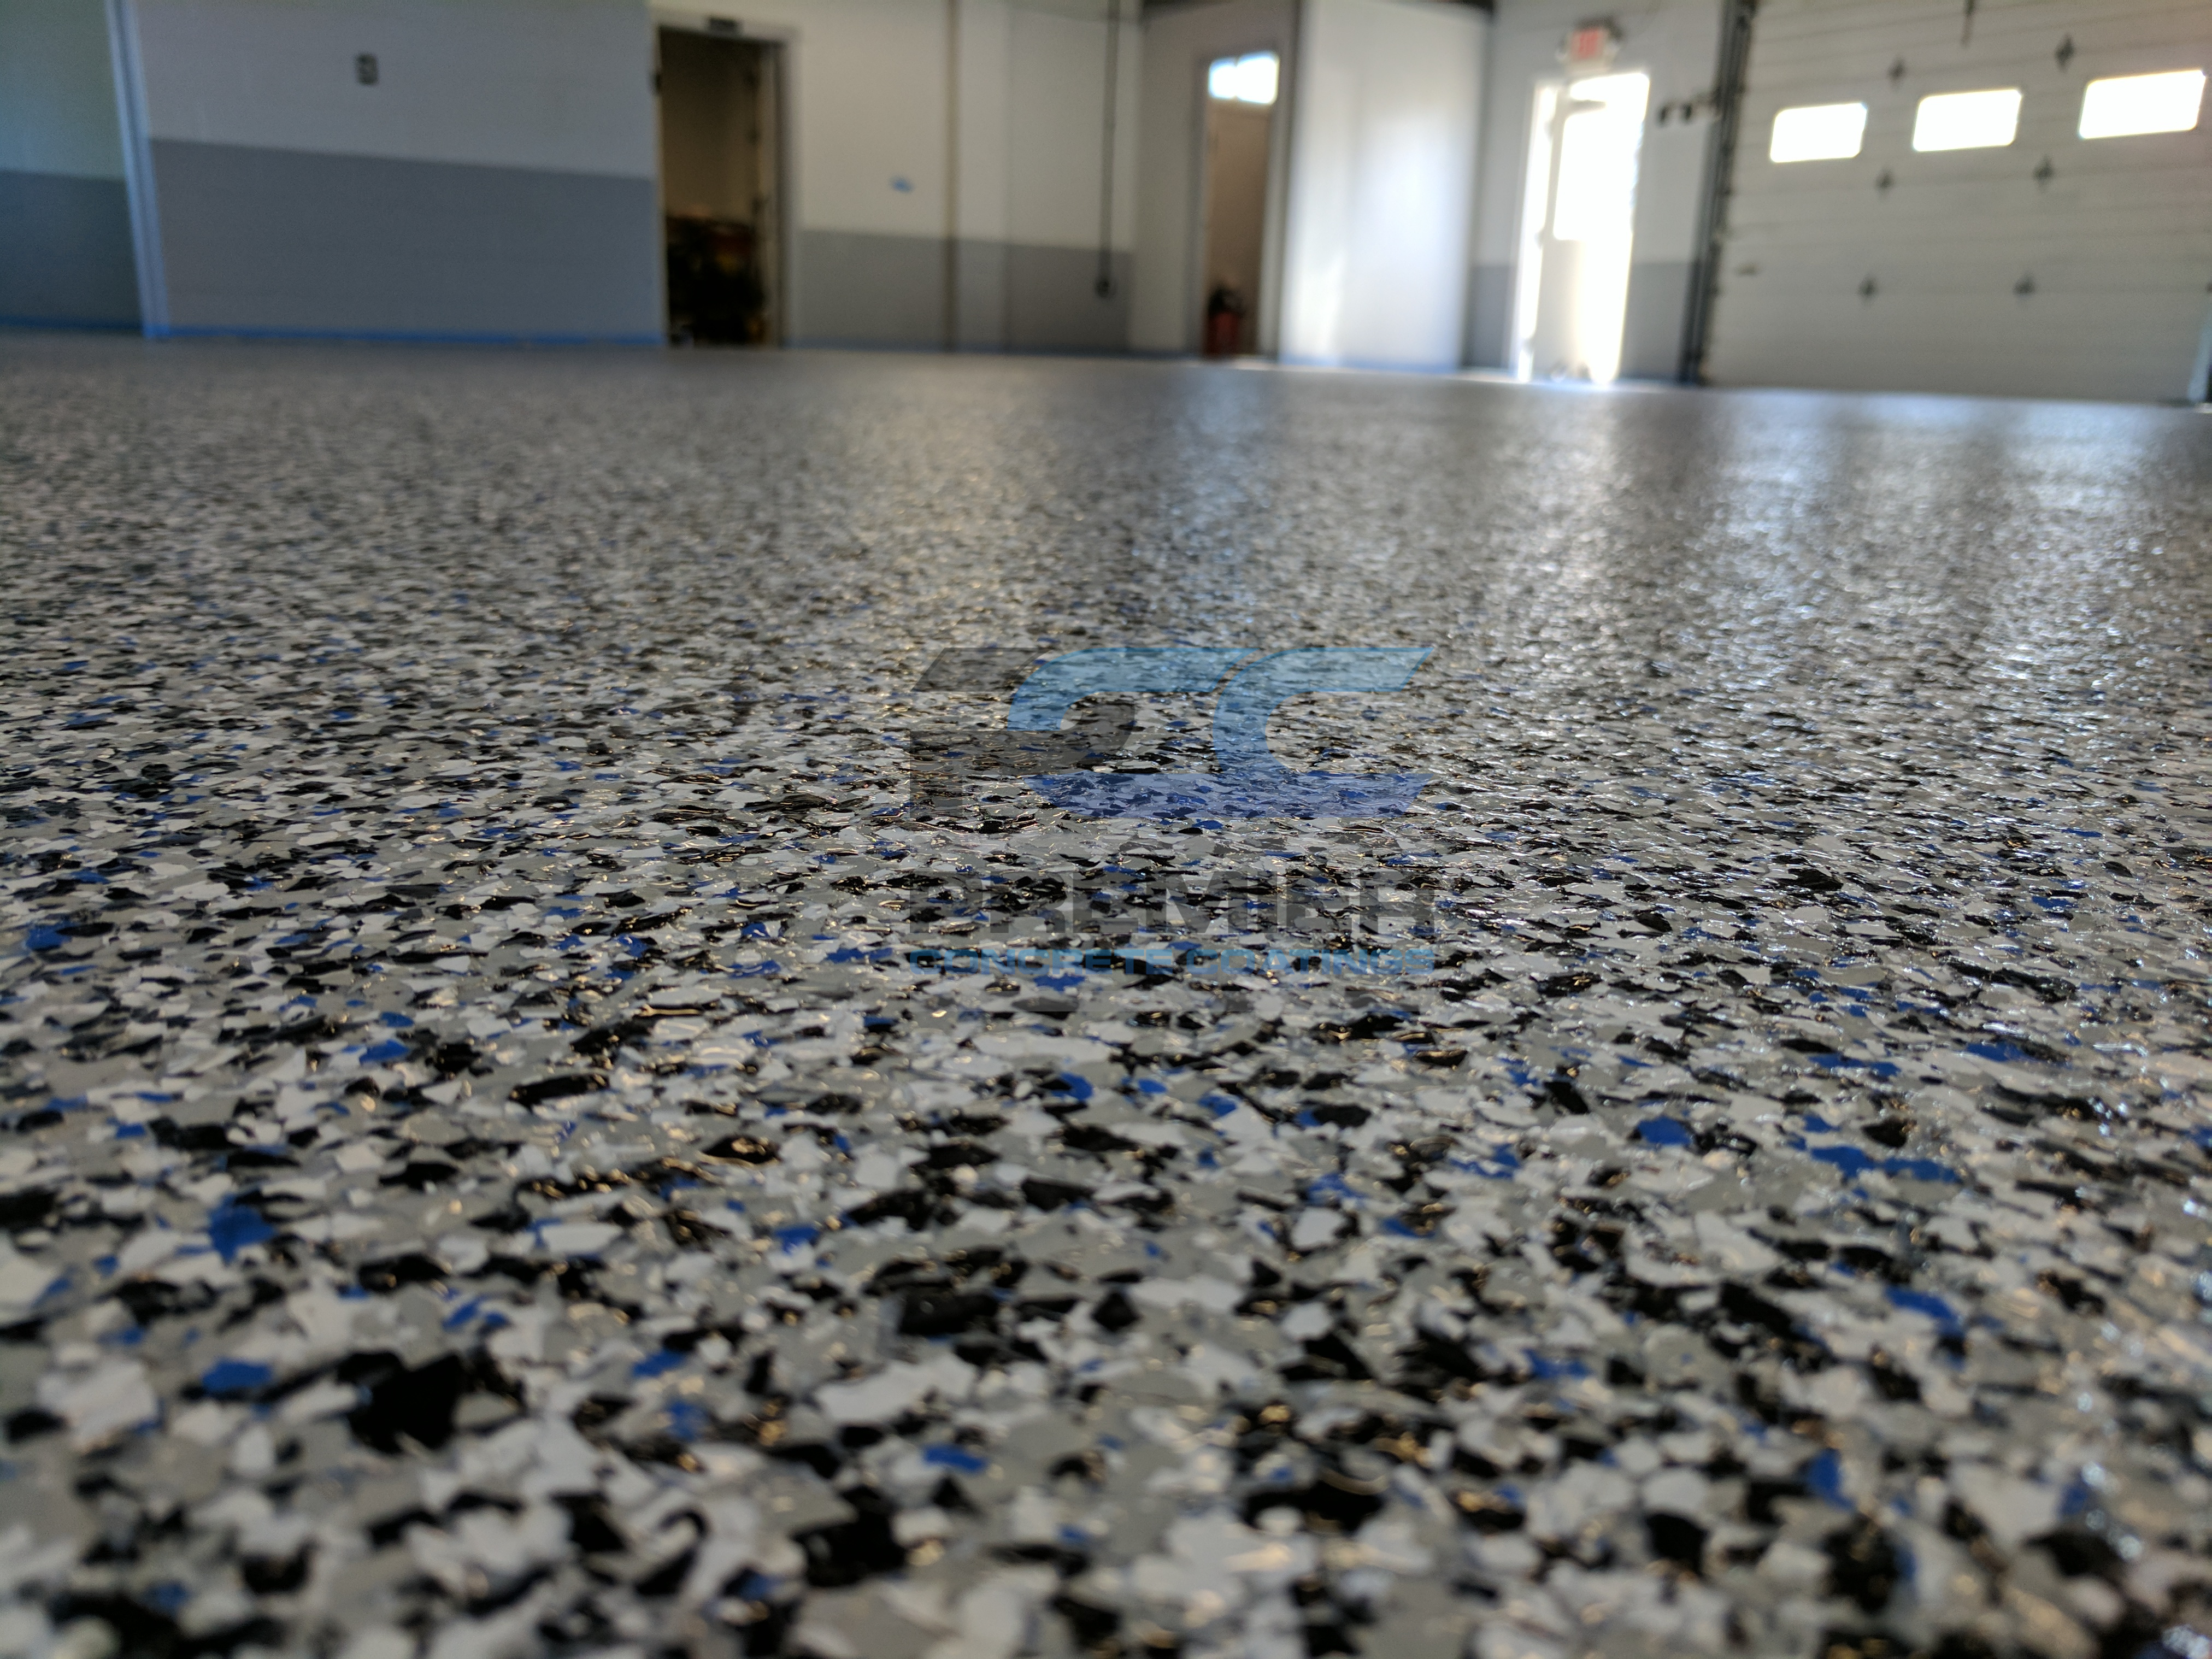
Tip #5: Always trust the curing times shown on the epoxy can! Take note of the weather, and plan around it.Hot, dry weather will cause the epoxy to dry faster, making it hard to work with. Do this project on a cool day!
Tip #6: The clean up of this stuff is TOUGH. If you accidentally track it anywhere, make sure to remove it before it sets, or it isn’t likely to come off well. Water will remove epoxy before it sets!
Tip #7: If doing the project over a few days, make sure you have a BRAND NEW set of rollers for each day. It’s a mistake to reuse rollers when working with epoxy. The epoxy will gunk up and turn out slightly discolored if you reuse them. Find rollers I used for cheap here!


Leave a Reply