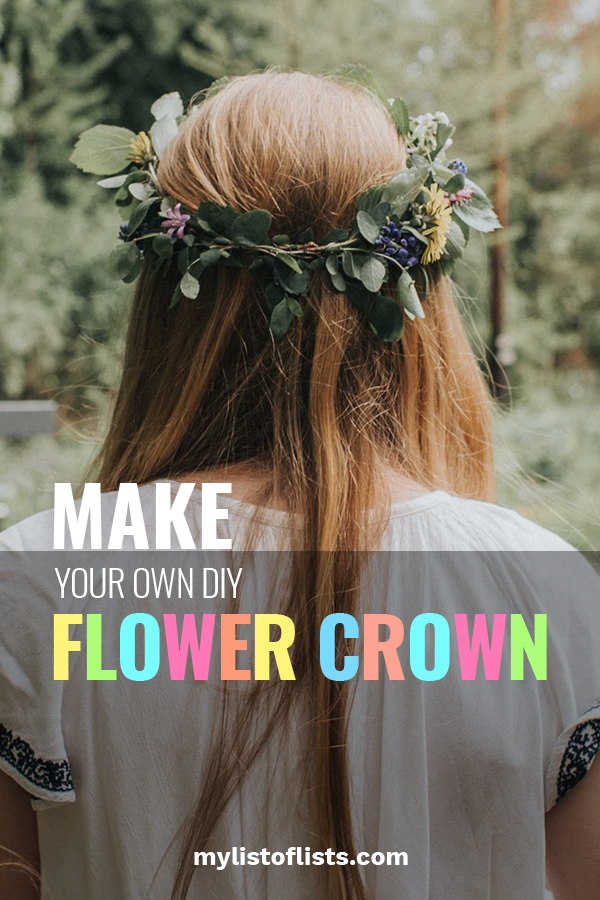
My little girls were bound and determined to get me to throw them a “fairy garden” themed birthday party this year. The first item on their “must-have” list? Flower crowns for each and every one of their friends. Because it is my kiddos’ birthday, I wanted to treat them and their friends to flower crowns made out of REAL flowers. Keep reading to see how to make them yourself!
You’ll Need The Following:
1. Freshly cut flowers (the price for these is largely dependent on the type of flower chosen)
2. Floral wire (this usually goes for about $2.99)
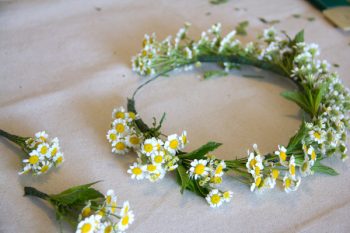
Naturally, the first step in designing and making your own floral crowns would be to pick out the flowers you want to design with. To keep blooms long-lasting, place flowers (with the stems trimmed) into a glass of water full of flower food for up to an hour before you begin. Pick a variety of flowers, making sure that the length of their stems, amount of greenery, and size of bloom differs amongst the flowers.

Next, wrap a length of floral wire around your head. Leave about 1/4 of an inch of room between your head and the wire. The extra space will allow us to pack extra flowers in!
Using short lengths of wire, secure a long stem of flexible greenery around the length of wire you measured for your head. You should have a mini crown now!
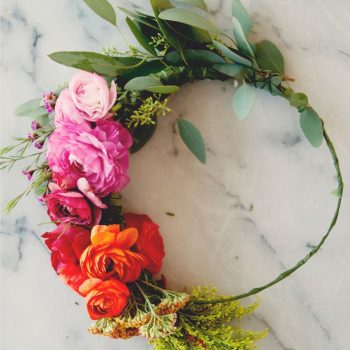
Now it’s time to start adding flowers! Trim each stem down to about a half inch. Wrap a length of floral wire around the stem of the flower in a “spiral” pattern. After the stem is supported by the wire, secure it to your flower ring. Fill it with as many flowers as you would like!
If you need more assistance, this tutorial from Lauren Conrad is extremely helpful!



Leave a Reply